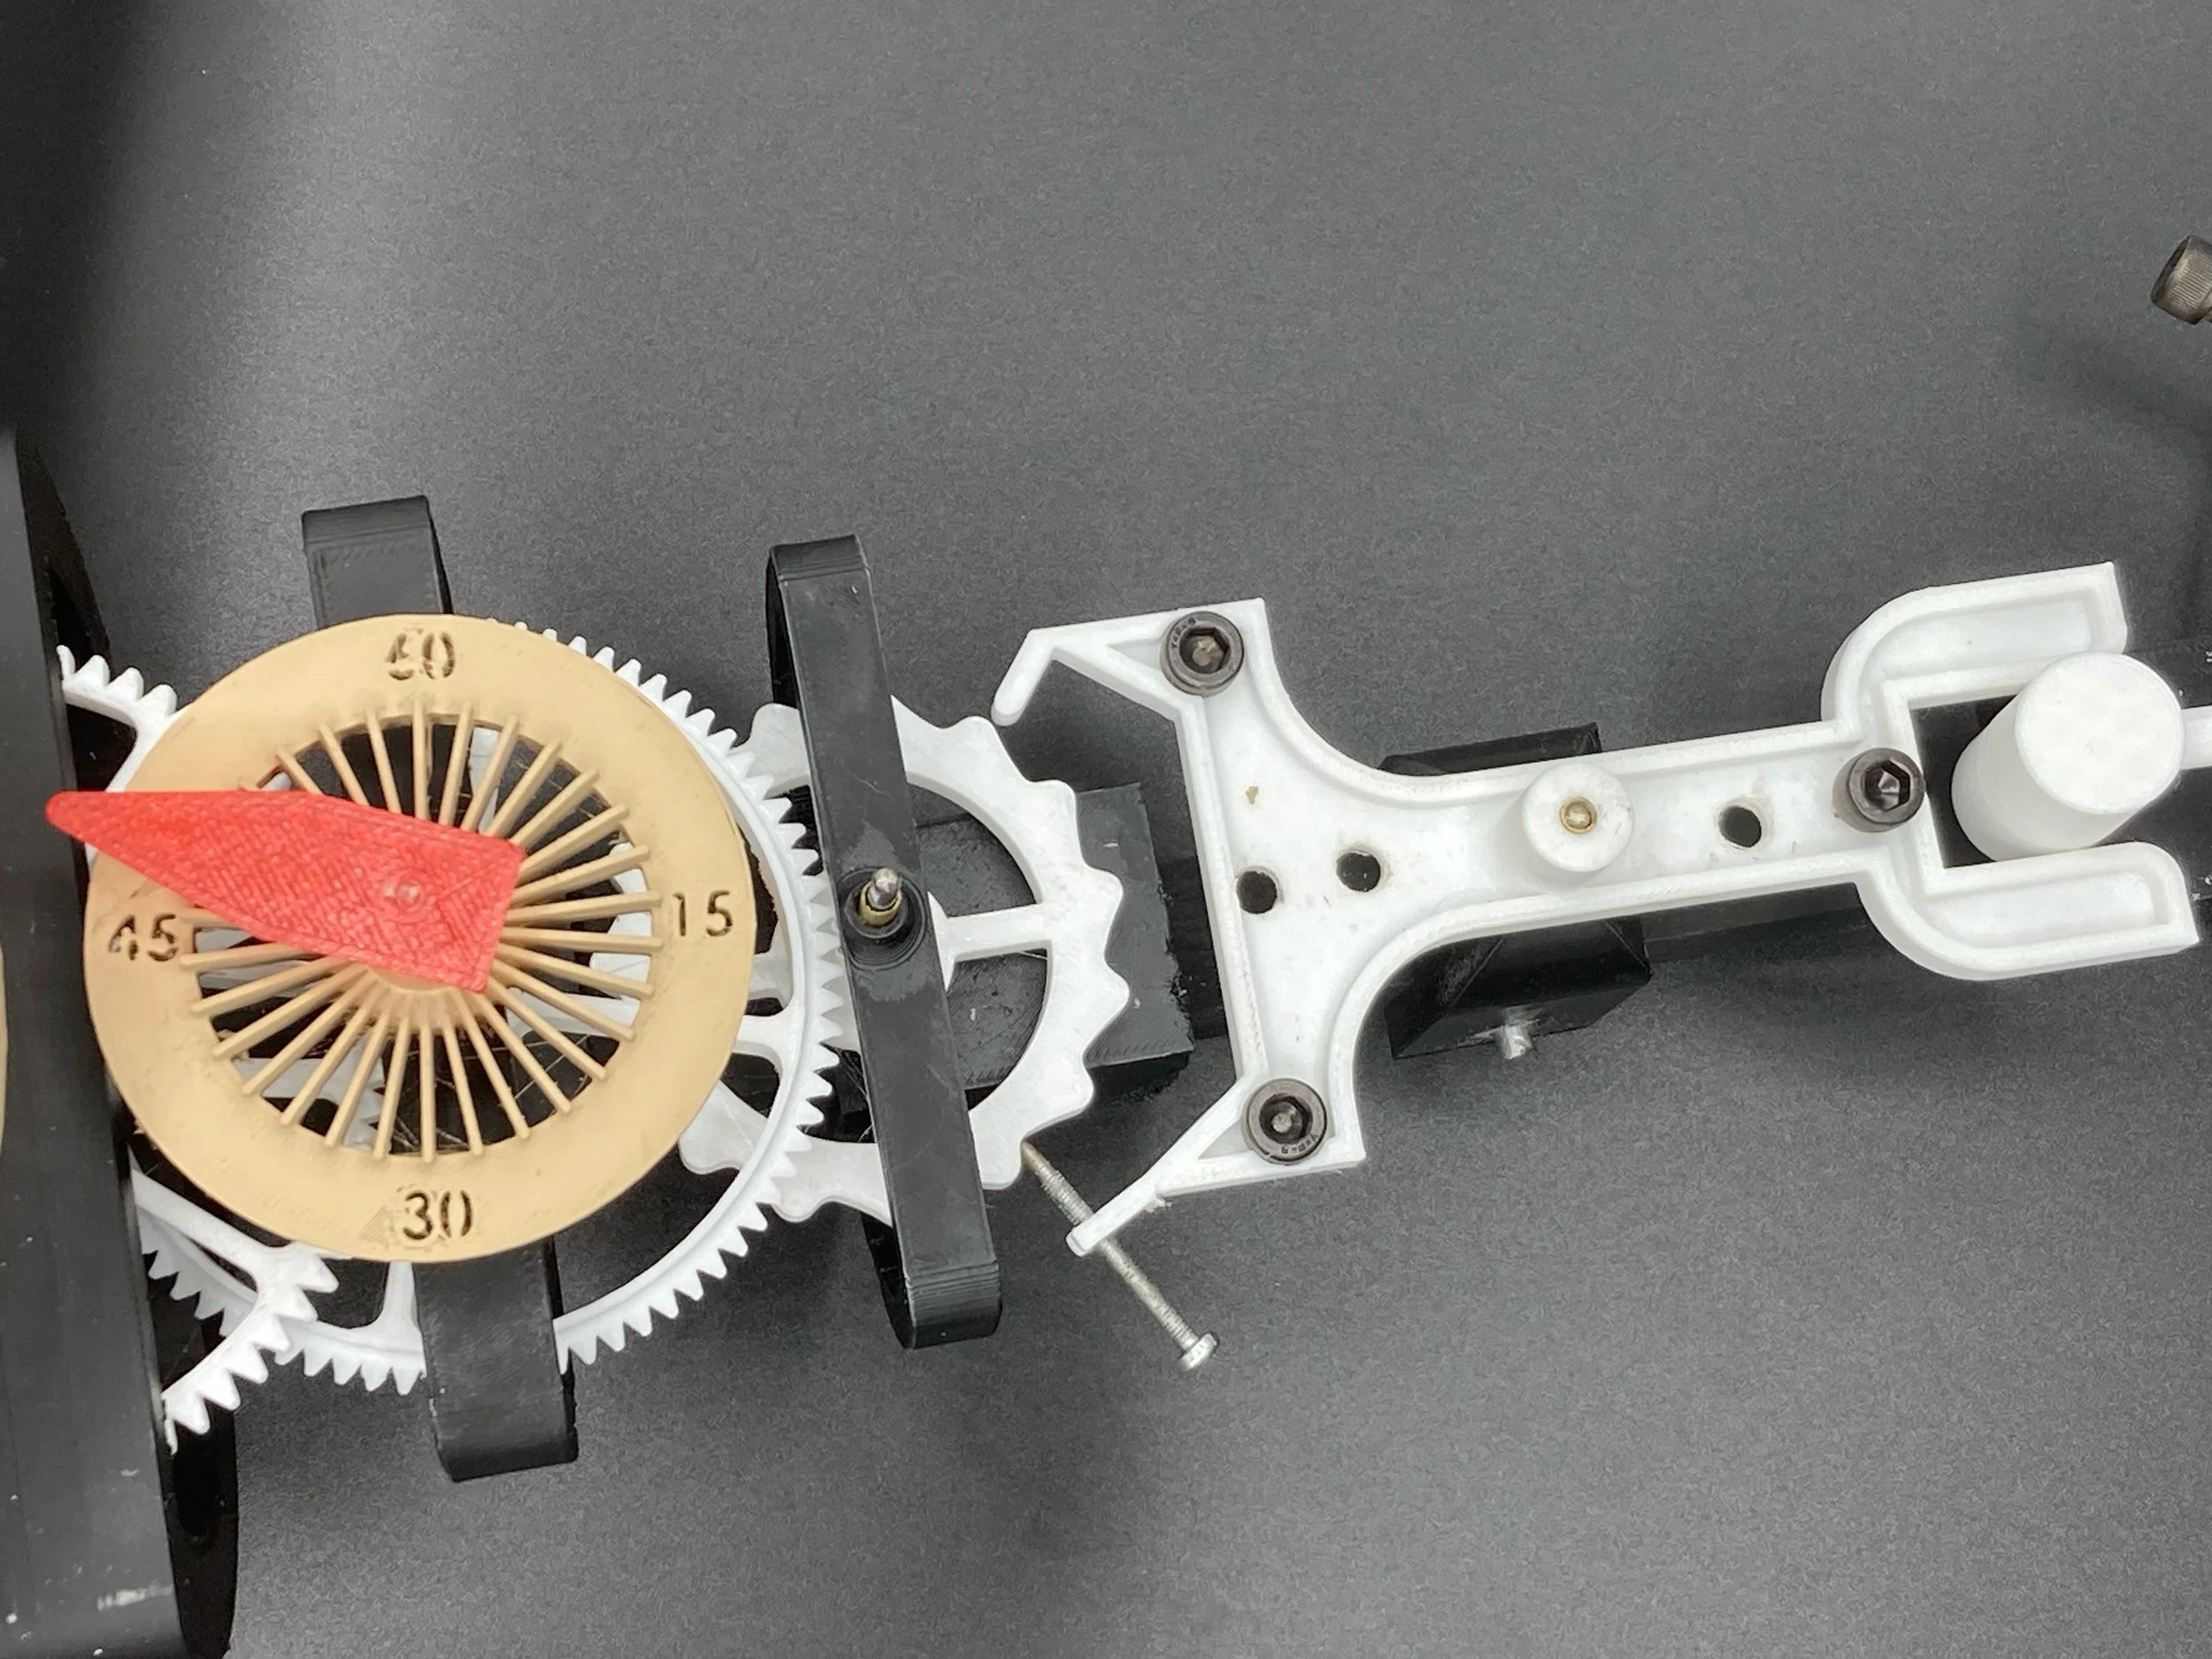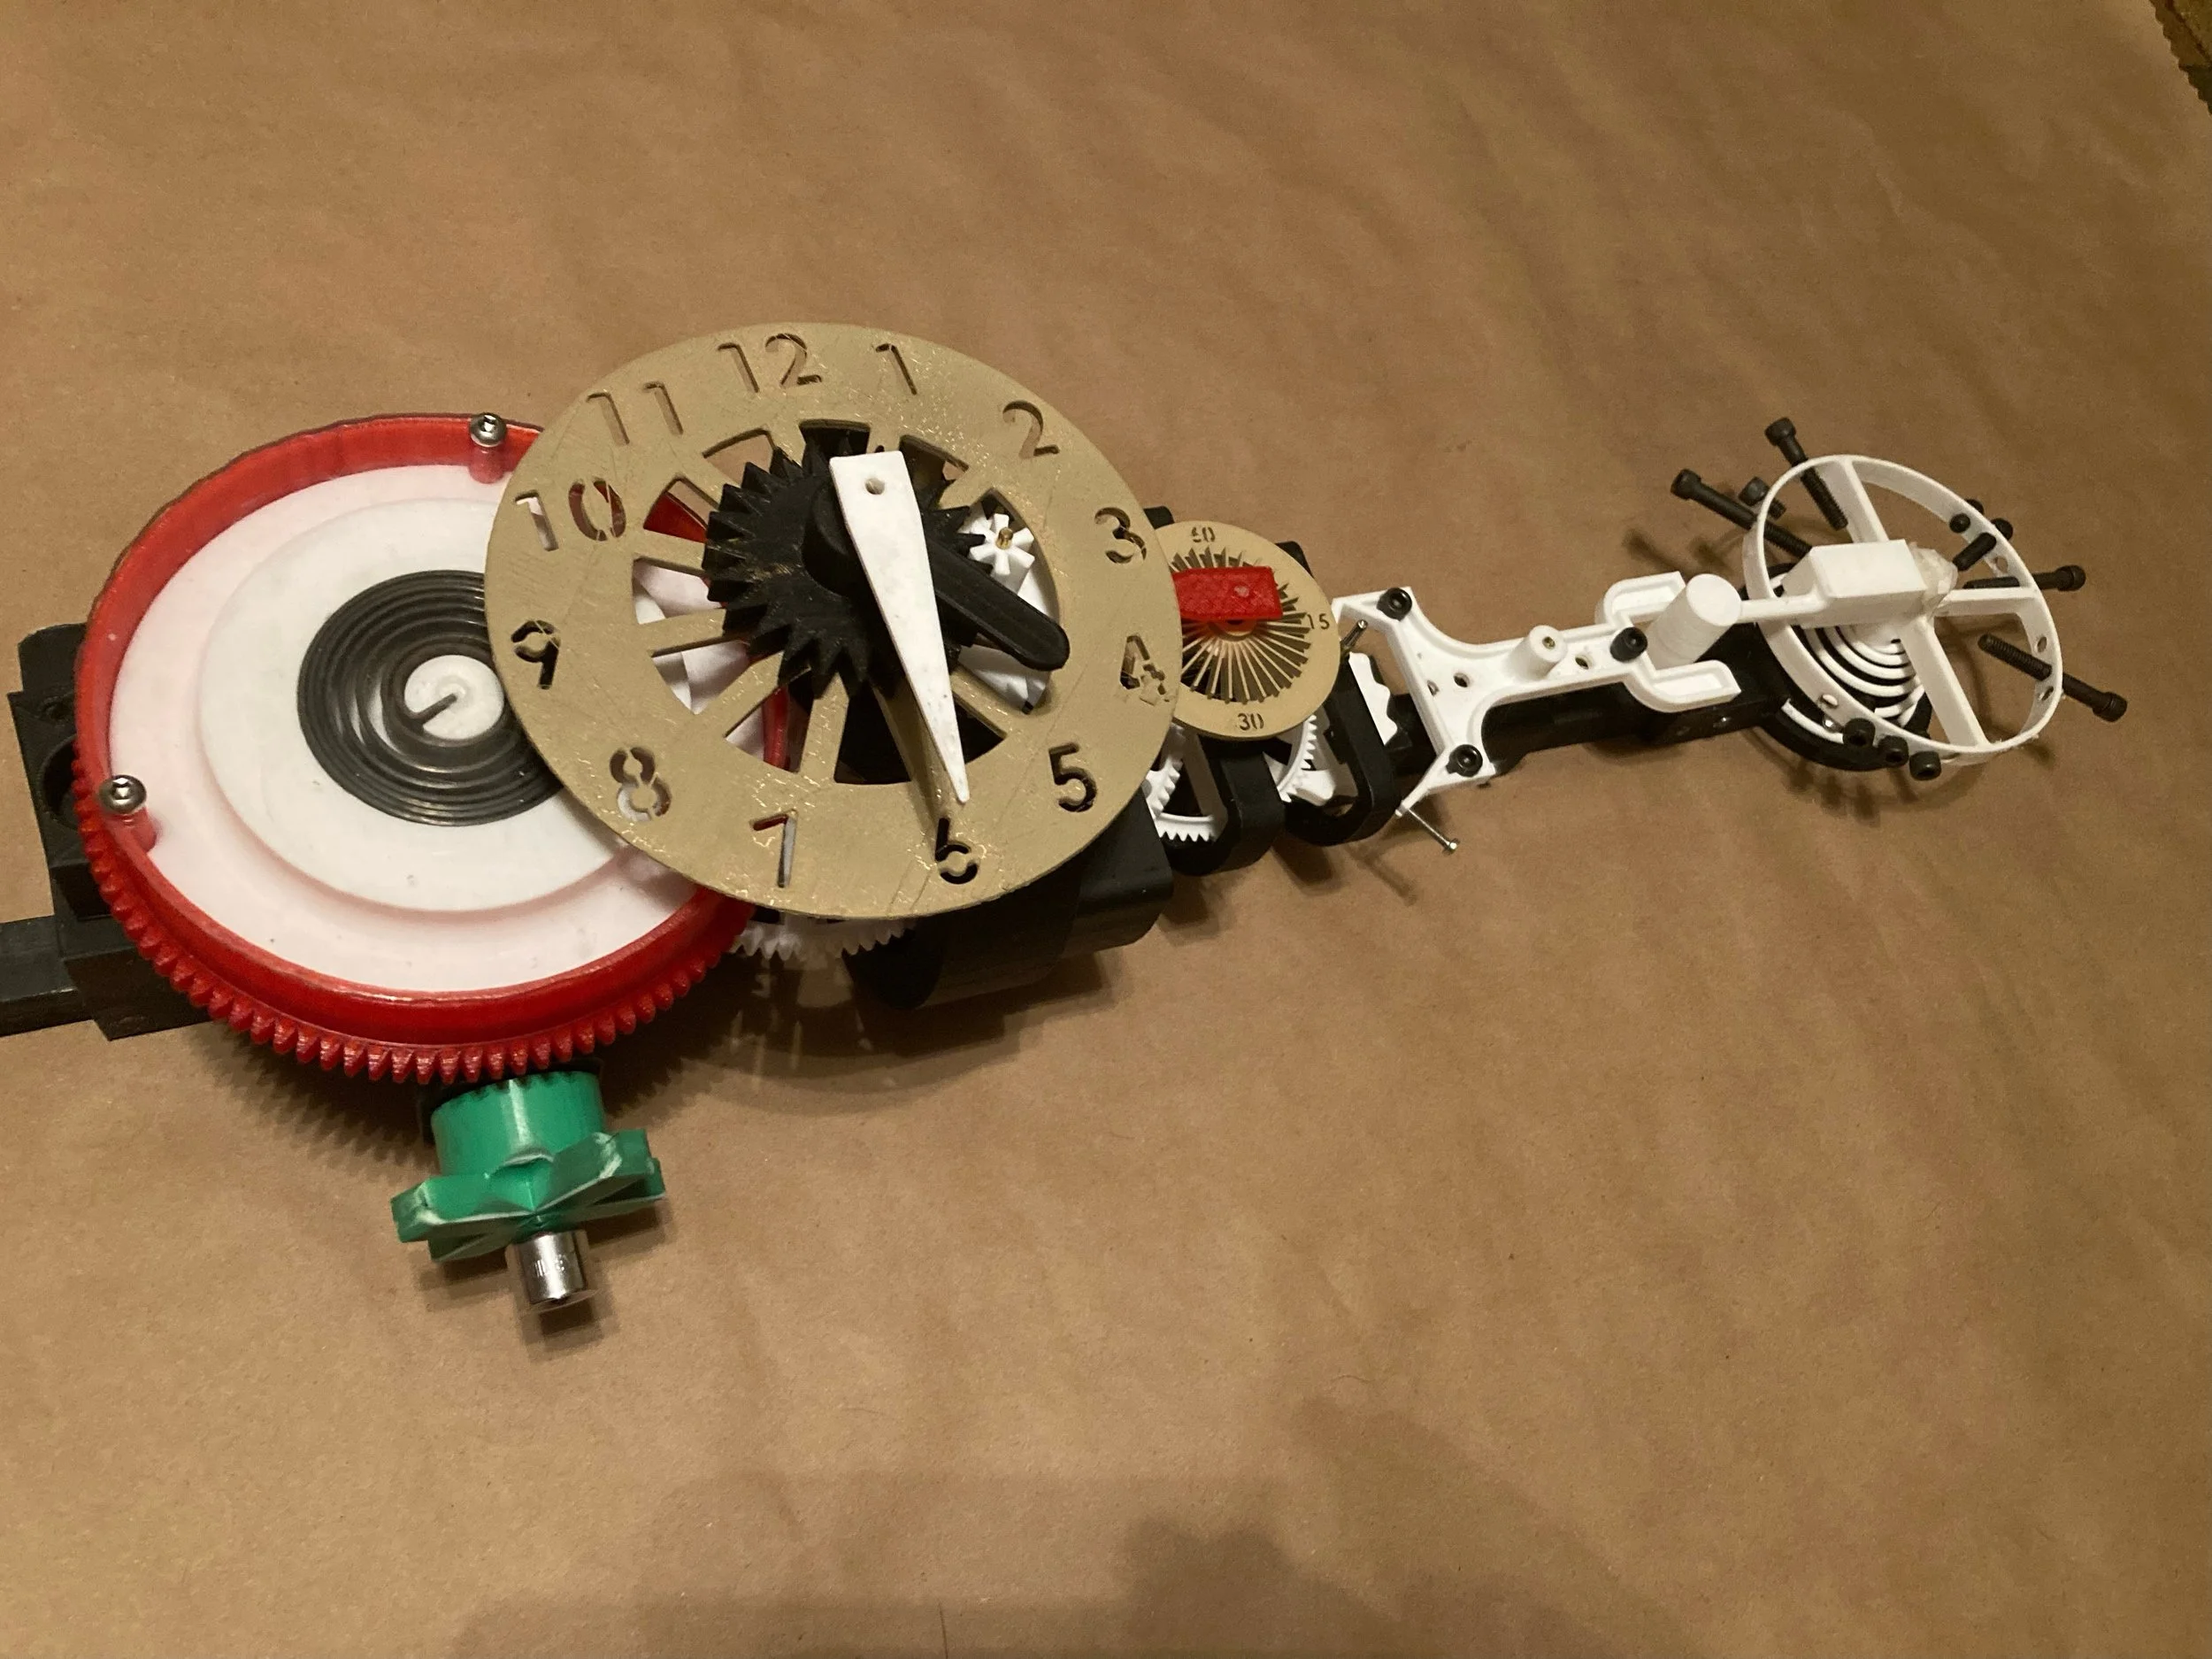
The use of 3D printing for making robotic end-of-arm tooling (EOAT) is a significant advancement in manufacturing. These components are crucial for industrial automation as they help robots boost factory production.
Machining.Blog® is a weekly blog focused on manufacturing career development. It features blog articles on the fundamentals of manufacturing for aspiring machinists. Our goal is to create an interest in manufacturing in the USA. Our writer Matthew Schowalter has worked in manufacturing for 24 years, and he covers the topics that matter to someone starting their career in manufacturing.
“The soft skills the machinist uses are the unseen tools in their box and can directly impact the success or failure of a dreamed after machining career.”